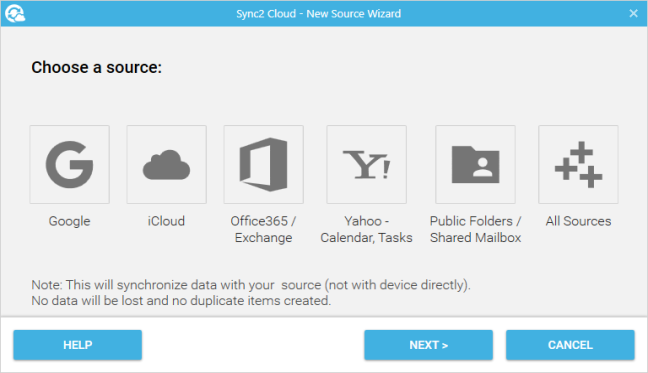
If you want to add CalDAVd, Shared Folderf or Zoho, select "All Sources" and then choose the source you want to configure.
You should log in to your source (Googlea, iCloudb Exchangec) Yahoo) CalDAVd Zoho));
You should select a folder you want to synchronize.
aChoose Google if you want to sync Outlook with Gmail, Android device or Chrome OS
bChoose iCloud if you want to sync iPhone, iPad, iPod, Apple account.
cChoose Exchange/Office365 if you want to sync Office 365, Exchange (Hosted), Outlook.com, Hotmail/live.com.
dChoose CalDAV if you want to sync Calendar Events or Tasks from any CalDAV Server to your Microosft Outlook.
eChoose Public Folders / Shared Mailbox if you want to sync Public folders or folders from Shared Mailbox to your mailbox, so you can see them on your mobile device (iPhone, iPad, Android).
fChoose Shared Folders if you want to sync Shared folders to your mailbox, so you can see them on your mobile device (iPhone, iPad, Android).
2nd step – Choose folders you want to sync with Outlook
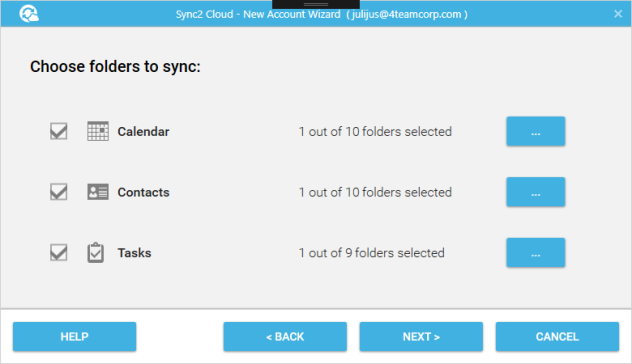
NOTE: skip this step if you selected to synchronize public folders / shared mailbox folders or shared folders and proceed to 3rd step.

3.• Click “Ok” if you choose to sync default Outlook folders with Google, iCloud or Exchange.
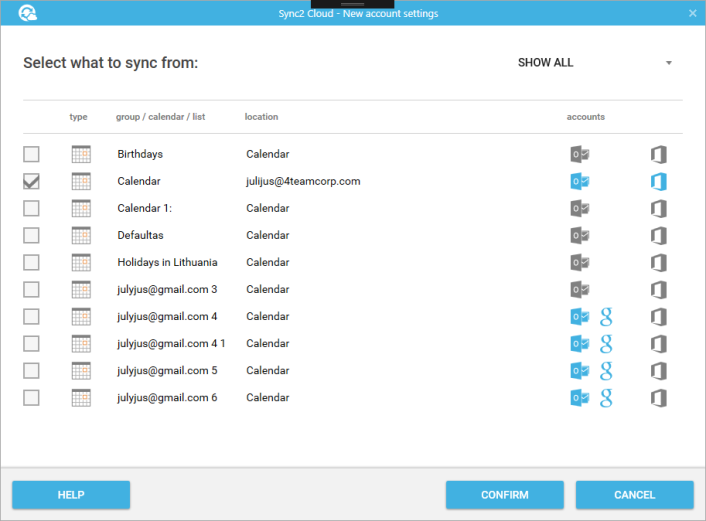
• Choose second option and click “Next” if you want to sync default folders with Google, iCloud or Exchange Calendars, Contacts and Tasks and choose which folders to synchronize. Choose Calendars, Contacts or Tasks and click “Confirm”.
• Choose third option and click “Next” is you have selected advanced mapping. After you select all the folders you want to map click “Confirm”. Note: you can add additional folders or groups by pressing the add button.
NOTE: you can configure every folder pair separately.
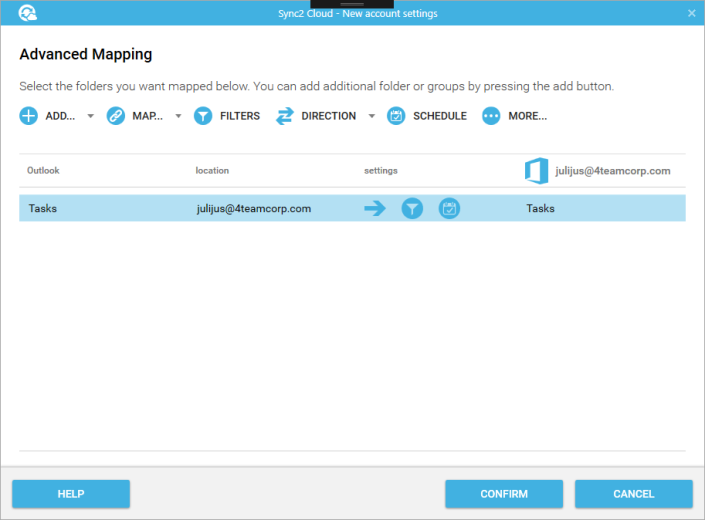
4. After you have selected all the folders you want to sync and how you will sync them click “Next”.
3rd step – Settings Summary
If you selected Google / iCloud / Office365/Exchange:
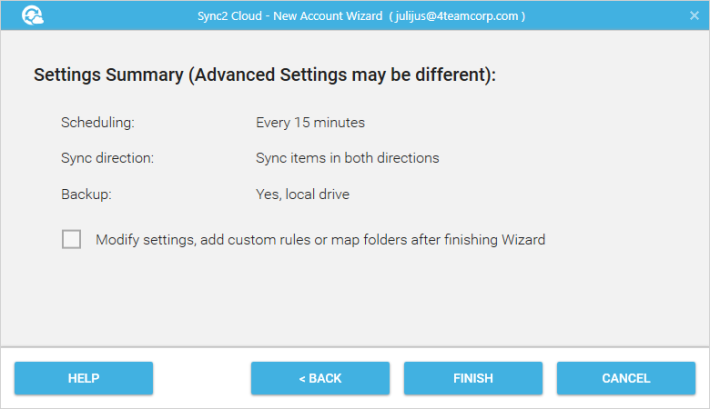
Click “Finish” and you Synchronization Account source will be set up.
Note: advanced settings may look differently.
If you selected Public Folder or Shared Mailbox Folder to be synchronized, you will be able to select the synchronization direction on this step.
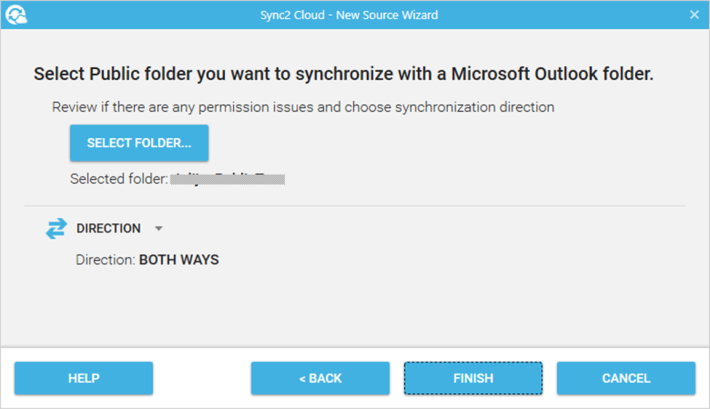
Click “Finish” and you Synchronization source will be set up.
If you selected Shared Folder to be synchronized, you will be able to select the synchronization direction on this step.

Click “Finish” and you Synchronization source will be set up.
Sources available of Sync2 Cloud